How to set up Ledger Nano S Plus hardware wallet
In this tutorial, we will try to analyze and review all the steps of installing and setting up Ledger Nano S Plus, along with photos and videos. We hope this content will be useful for you dear users.
This content includes installing Ledger Live, assigning a PIN code to the wallet, receiving 24 recovery words, updating the firmware, and more. So stay tuned.
The first step required for all Ledger hardware wallets is to download and install the Ledger Live app from the Ledger website. You can also access it through this link for easier access.
After installing Ledger Live, you will see a welcome message on your screen, as shown in the image.
In this section, by clicking on the Get started button, you can start the steps and proceed with the installation steps:
In this section, you must confirm the rules and regulations related to Ledger Live software, so that you can enter the software. After this step, your ledger wallet will appear on the screen with the image below.
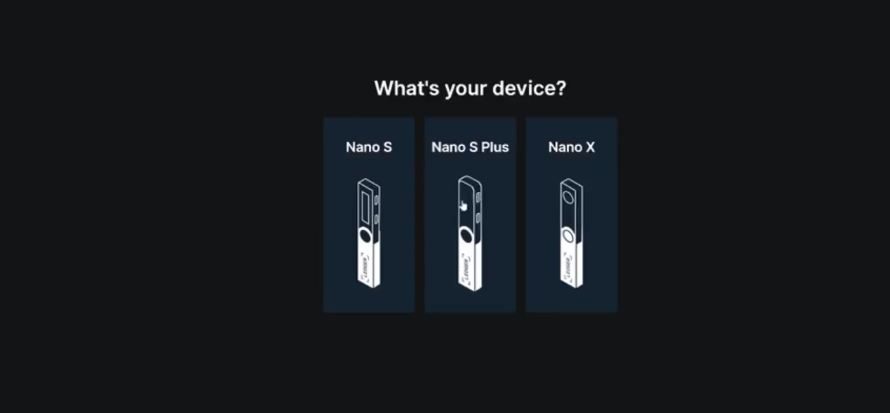
To continue to the next steps, you need to select your hardware wallet model, which is Ledger Nano S Plus, by clicking on it and proceed to the next step.
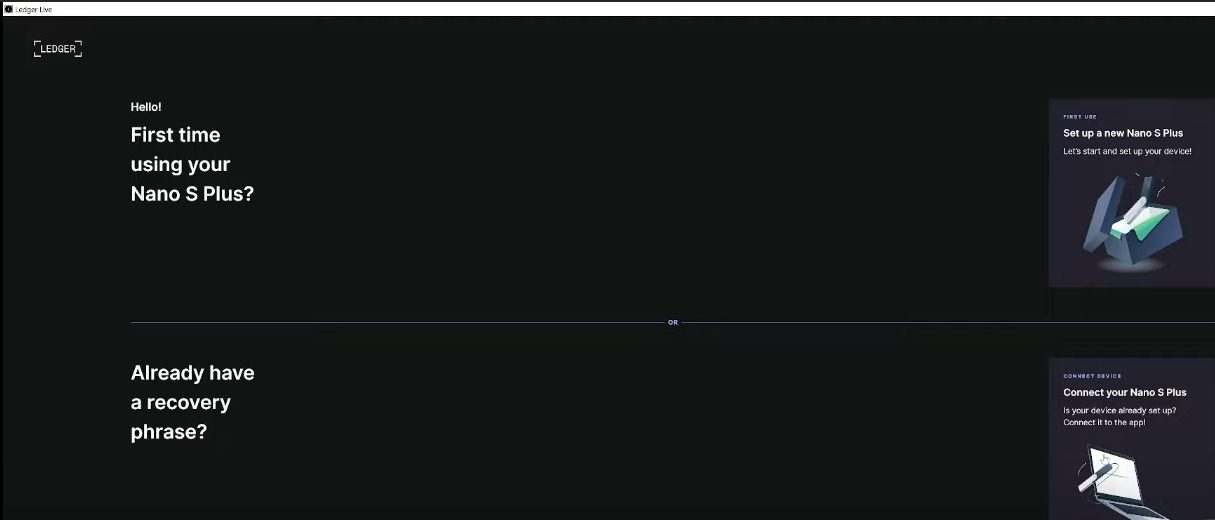
As you can see in the image below, you have two options in the next step:
The first option is for people who want to set up their hardware wallet for the first time and receive their 24 private words. This mode is actually for setting up a new device and receiving 24 private words, which are very important for recovering cryptocurrencies and assets. We will discuss the correct methods of storing them and the problems caused by not keeping them safe later.
The second option is for people who have already set up their hardware wallet and received their 24 private words. In fact, they only want to recover their Ledger Nano S Plus hardware wallet using the 24 words they have.
In this section, we will choose the first option because we are currently focusing on people who have recently purchased a Ledger Nano S Plus hardware wallet and have not had a hardware wallet before. However, at the end, we will briefly explain the second option, which is the method of recovering a hardware wallet with 24 recovery words.
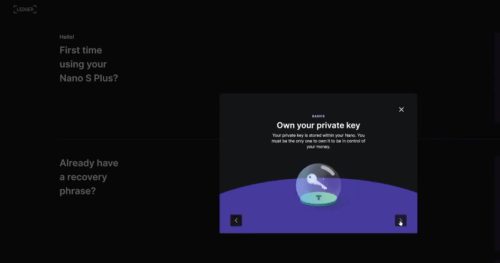
After selecting the first option and clicking on it, Ledger will give you some initial and general explanations, such as how to store your private words. You just need to confirm them and proceed to the next step. Of course, this confirmation is due to the importance of how to store private words, which Ledger constantly reminds its users that one of the ways to do this is to provide a Ledger keyword protection capsule.
Click to see and buy the Ledger keyword protection steel capsule.
In the next step, Ledger reminds its users of some essential security tips for their hardware wallets. Paying attention to these tips is only for the security of your hardware wallet and ultimately your assets. Ledger insists that you do this step very carefully and take about 30 minutes for this step. Try to use the 24 recovery freeze words patiently on a piece of paper or recovery sheets that Ledger provides you with in the Ledger hardware wallet box. It is better to be alone while writing down your private words and no one should be around you.
Ledger’s suggestion for better storing your 24 private words is to get a Ledger keyword protection capsule. It is made of stainless steel that protects your private words in all ways, both from unauthorized access to your words and from natural factors such as floods, earthquakes, fires, etc.
Please note: You are responsible for keeping and maintaining your 24 private words. Therefore, you should do your best for this important task.
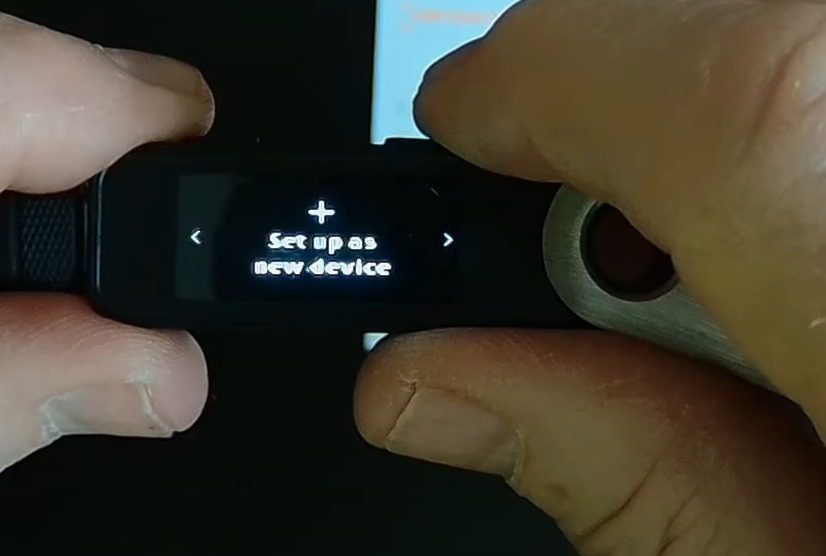
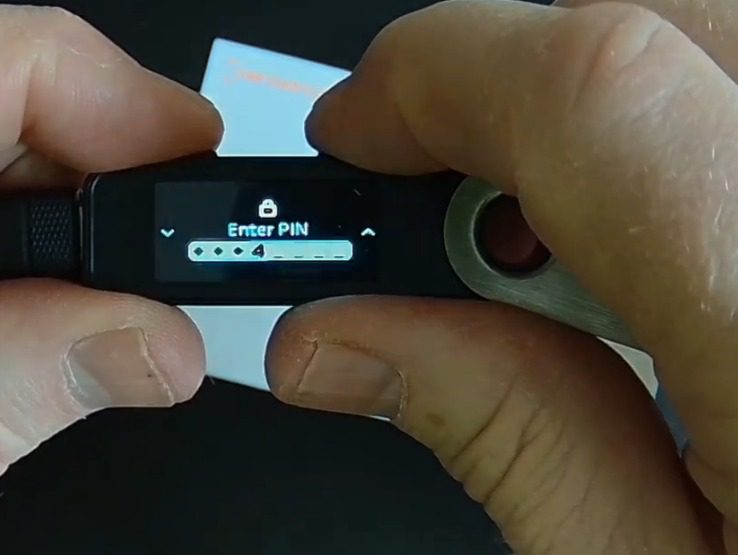
At this stage, connect your Ledger Nano S Plus wallet to your laptop using the cable that is inside your hardware wallet box. Your hardware wallet has two buttons. The way to use these two keys is that by clicking on each button, you can move in the wallet menu, and by pressing two buttons at the same time, you can confirm and enter that menu and operation.
Please note that the wallet you purchase should be new and uninitialized. All Ledger Nano products come with a Certificate of Authenticity, which guarantees that your hardware wallet is genuine and brand new.
To enter the “Set up as new device” menu, double-click the right button on your hardware wallet. Once you reach this option, press both buttons simultaneously. As you can see in the images, at this stage you need to choose a 4 to 8-digit PIN code. Be very careful when choosing your PIN code; it should not be simple or easy to guess, and you should never share it with anyone. To choose your desired PIN code, use the two buttons on the Ledger to increase or decrease the numbers. When you reach the desired number, press both Ledger buttons together to select your PIN code. You must confirm this PIN code selection step, i.e., do it twice to ensure it is done correctly.
In this step, you need to write down your 24-word private key. Do this carefully and in the correct order, directly from your Ledger Nano S Plus. After each word, press the right button to display the next word. Once you have written down all 24 words, you need to confirm them. To do this, the Ledger will give you the number of a word, and you need to find and confirm that word. This step can be tedious, so be patient and careful to avoid making mistakes and having to start over.
At the end, you will see the message “Your device is ready.” At this point, your wallet is ready to use, and you have successfully set up your Ledger Nano S Plus hardware wallet.
Ledger Nano S Plus firmware update
Ledger, with the experience it gains over time, offers a new version of the firmware to facilitate the use of the wallet for users to benefit from new and updated features and improve the security of its devices. You can easily update the firmware of your hardware wallet and be sure that there will be no problems with your assets and cryptocurrencies.
How to transfer currencies from Ledger S or X wallet to Ledger Nano S Plus wallet
- Be sure to update your live ledger.
- Bring your 24-character words with you.
- Connect your Ledger Nano S Plus wallet to a computer or laptop with a cable.
- After turning on your wallet and seeing the welcome message, we proceed with the next steps
As explained above, choose a 4 to 8-digit PIN code for your Ledger Nano S Plus wallet (you need to do this twice).
At this point, you need to have the 24 words of your previous hardware wallet (Ledger Nano S or Ledger Nano X) and enter them. Wait for your wallet to confirm the process.
In this step, use the right button of the device to enter the settings of your Ledger Nano S Plus and complete the recovery process of your cryptocurrencies
The video below fully shows how to set up the Ledger Nano S Plus hardware wallet.
If you have any questions about the Ledger Nano S Plus setup process or any problems transferring your cryptocurrencies, you can contact Ledger Service for assistance. If you have a Ledger Service warranty, you can create a ticket and your problem will be solved in no time. Ledger Service colleagues will follow up on your case quickly.
When buying your Ledger Nano S Plus hardware wallet, be sure to pay attention to the warranty levels and choose the warranty that best suits your needs. You can easily compare warranty levels by clicking on the “Compare Warranties” tab on the product page when purchasing your hardware wallet. A table will be displayed showing you the different warranty levels and their benefits.
No products found in this category

